
One of my favorite things to do this time of year is to take a long drive through the countryside and breathe in the beautiful Autumn scenery. The leaves on the trees showing off their final hues before tucking away for Winter. The bright blue November Sky. The land preparing for the coming snow. Oftentimes, I find myself deep in farm country where house after house, adorned with Barn Stars, stand stately among the fields.
The barn star, also known as the Pennsylvania star, is a popular decoration among farming communities. Dating back to the 18th century, barn stars are considered to bring luck to the farmhouse it hangs upon. Sometimes these stars were painted with specific geometric patterns, each with their own meaning. And while often associated with luck, they also serve as a symbol of “welcome”.
Barn stars are still a popular form of decoration these days. They are often found in the popular colors of Rust Red, Black which is meant to bring protection, Blue which is meant to bring peace, and more. Today, you can even find them dressed up with Christmas greenery and holly berries or, in our case, painted as an American Flag.
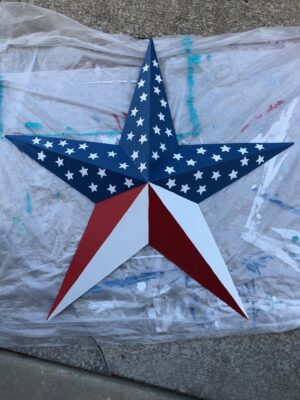
My future Father-in-law asked me to paint an American Flag on this large metal star for his garage. Naturally, I couldn’t wait to take it on! It’s the first time I’ve painted on material different from canvas or paper so I jumped at the challenge. Read on to learn my process and find out how I tackled painting 50 tiny stars!
Materials:
- Metal 5 pointed barn star – there are a variety of sizes but this one was 36 inches
- Metal Primer such as this one
- Rust-oleum outdoor metal paint:
- Outdoor Sealant Spray – (I used this matte finish)
- This star stamp from Amazon
Step-by-Step:
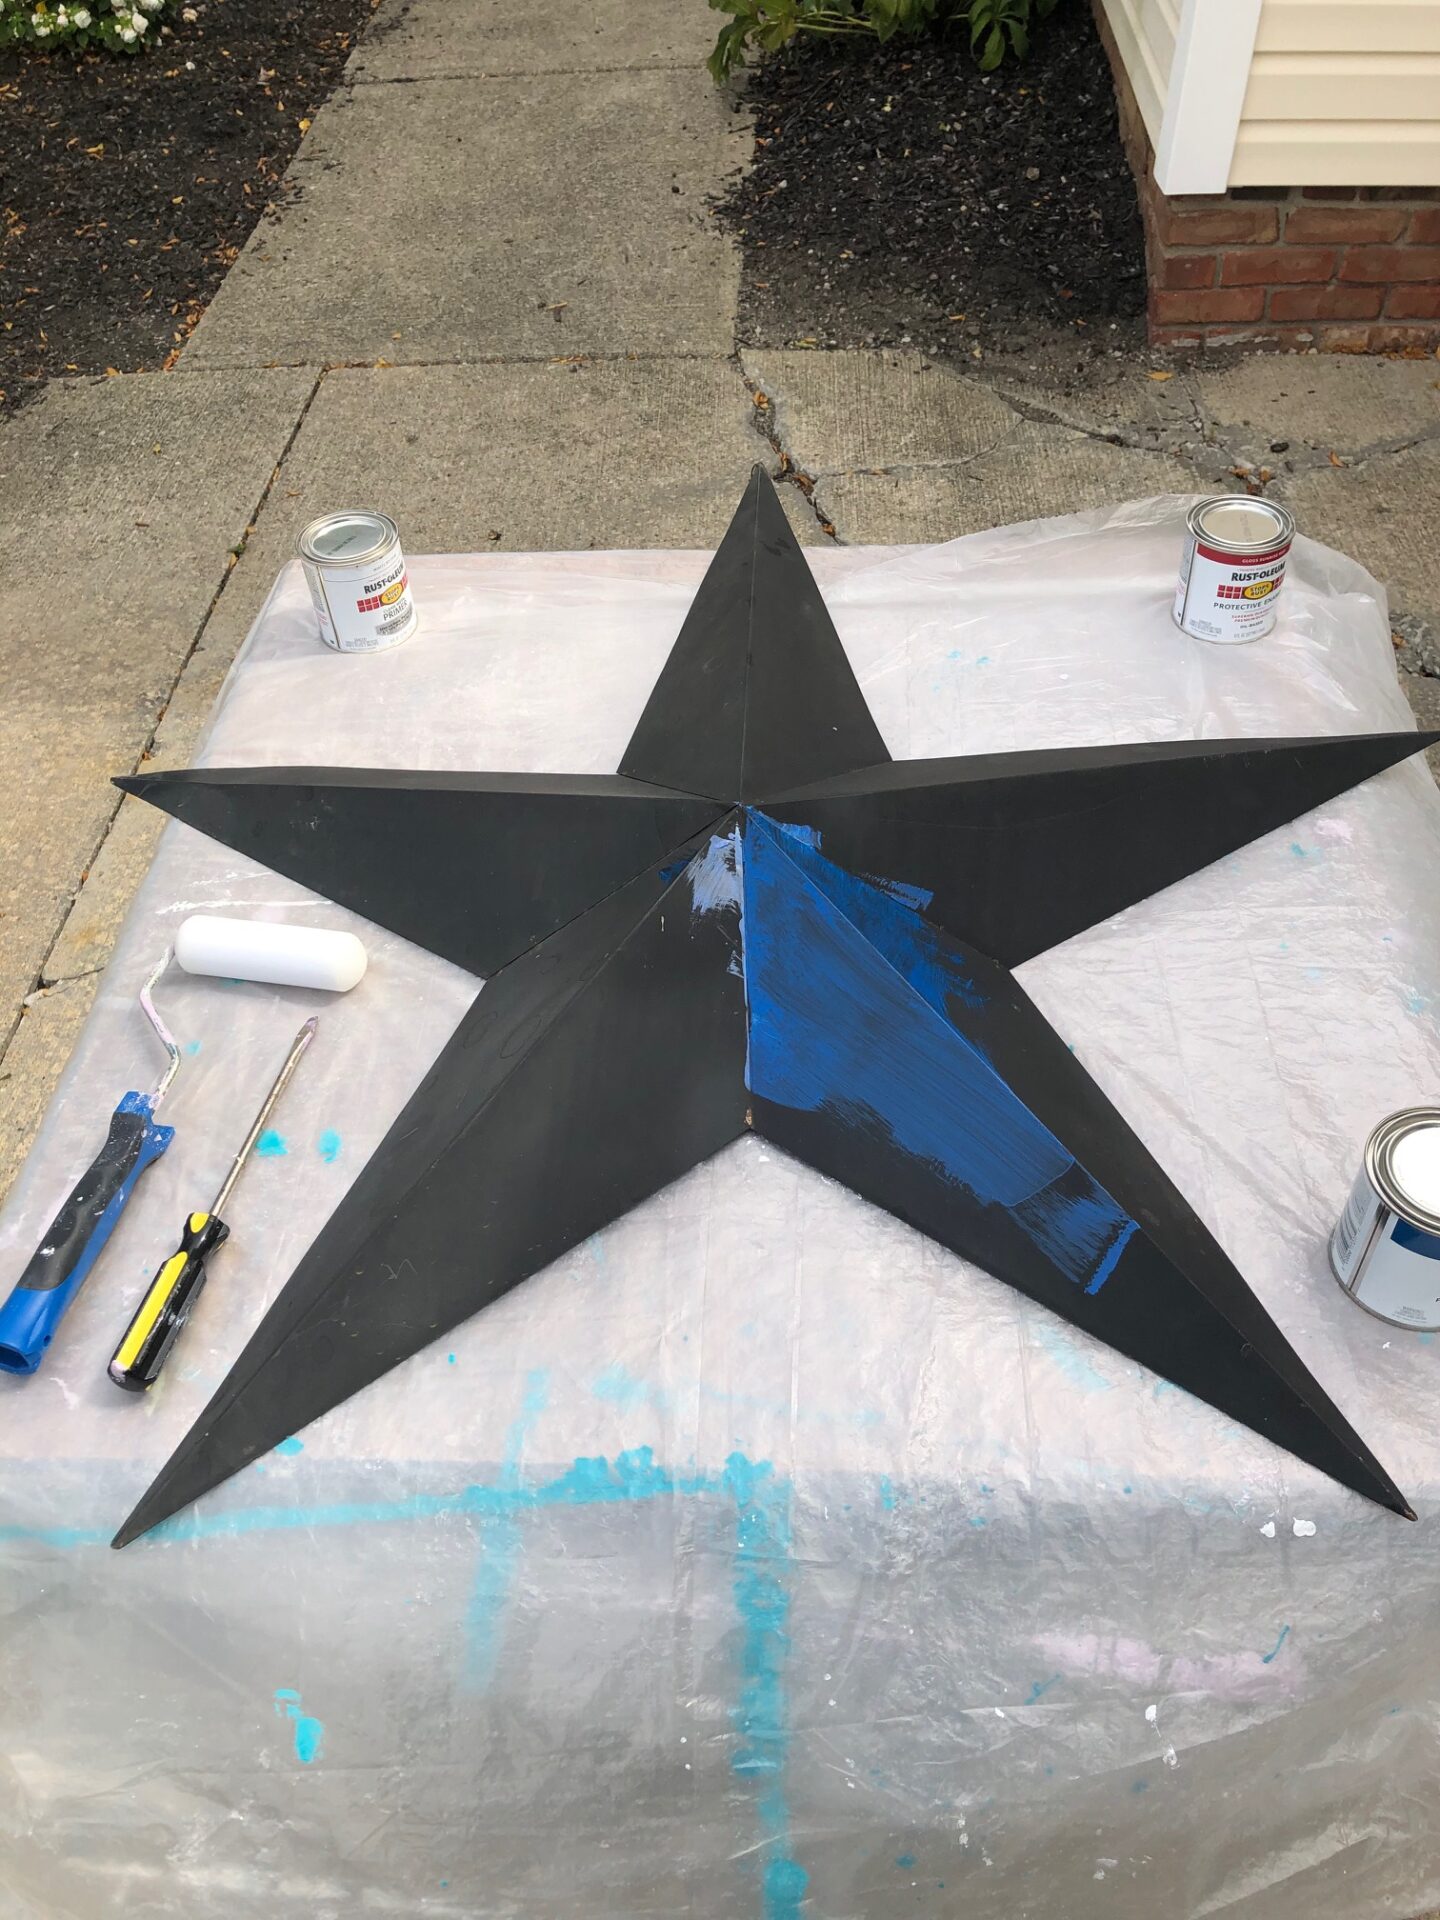
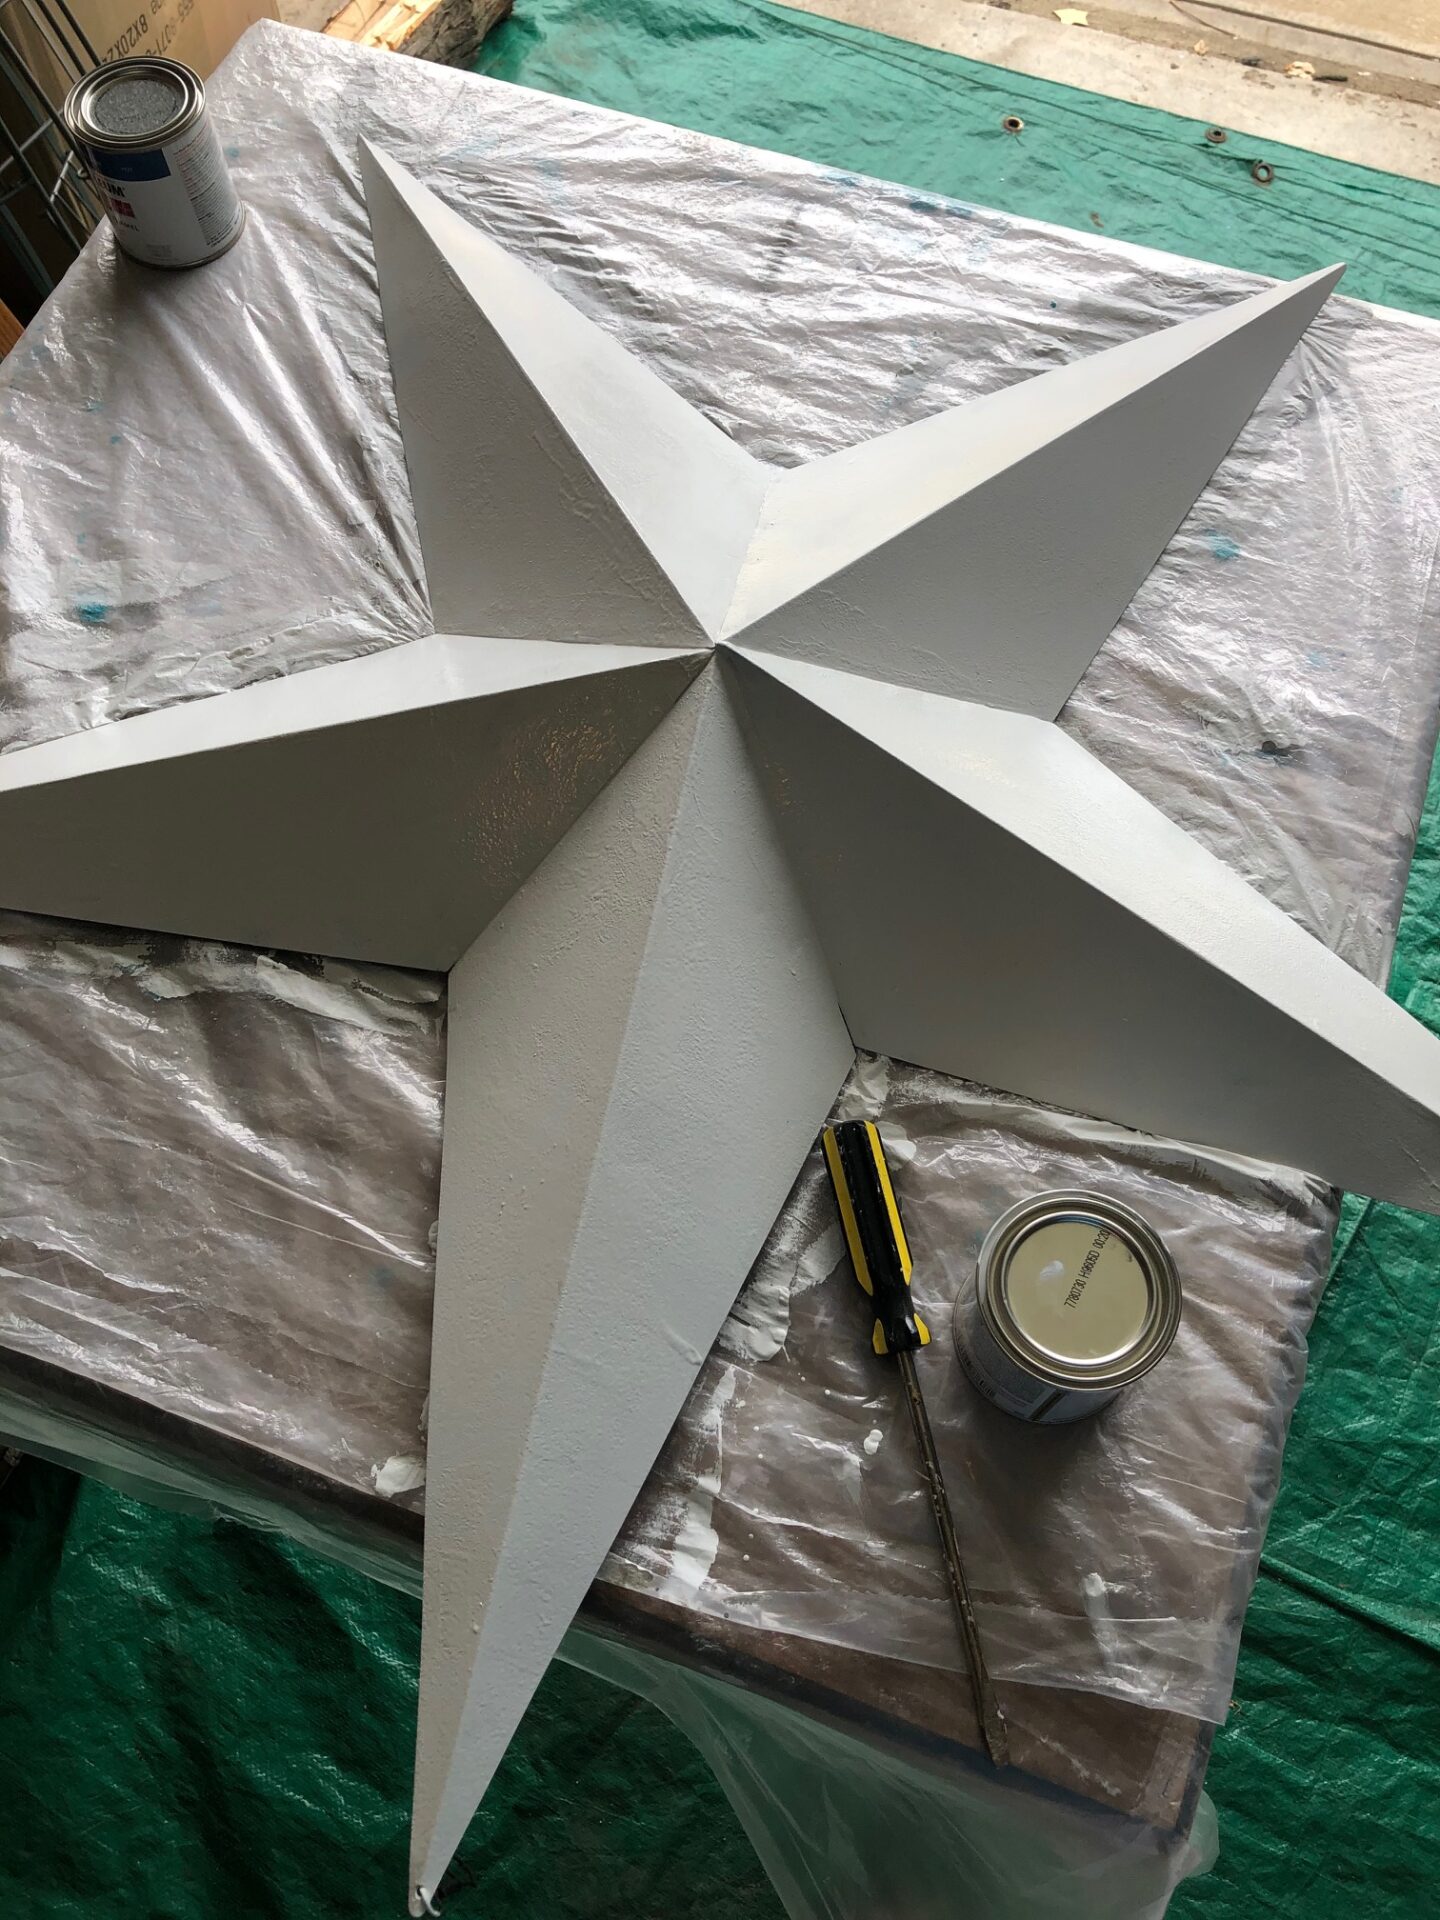
First: I tested the paints on the metal star. I wanted to make sure they would stick properly and look they way I wanted them to. Next: I primed the entire star with white primer. Using white for this made the white paint shine nicely and the blue and red colors really pop.
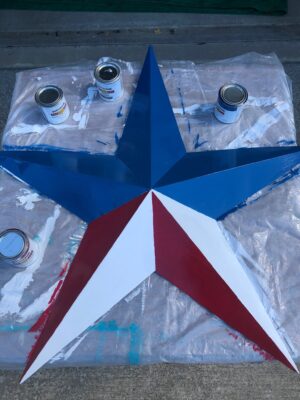
Third: Roll on the paint! I rolled the paints with a foam roller brush which gives it a really smooth coat. I chose to apply seven coats of each color! Seven might seem like a lot but I wanted to be sure this would stand up to the elements. And yes, I did apply seven layers of white paint over the white primer. With a project like this, you can’t skip steps!
Finally it was time to start placing the stars. Similar barn stars online only had a few stars but it was really important to me that I got all 50 stars on this piece. I started out using stencils for the stars but found I needed a lot of tape to hold the stencil in the exact position. Even with the tape, the stencil would slide around a lot and it was too hard to position it without smearing the newly painted stars. Short of having to paint one star, let it dry for a couple of hours, and paint another, I decided to switch methods.
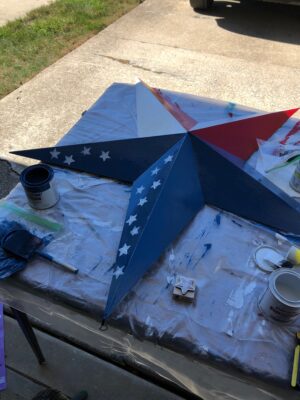
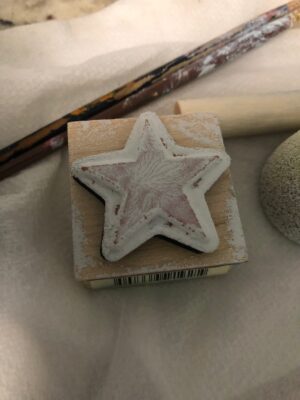
I decided to use a scrapbooking stamp! First I would dip it in the white paint then lightly stamp it onto a paper towel. Then I would stamp it onto the barn star. I usually got three to four star stamps down before having to load it with new paint. Once I stamped them all down, I went back over each one with a fine painter’s brush to fill in and properly shape each star. If there were any slip ups, I would take another thin paint brush and go back along the outline of the stars with the blue paint. I also used the fine paint brushes to define the seams of the larger star but you could also use painters tape to give you crisp lines.
Lastly, once the design was dried, I sprayed three coats of Rustoleum’s Matte Finish spray over the entire star.
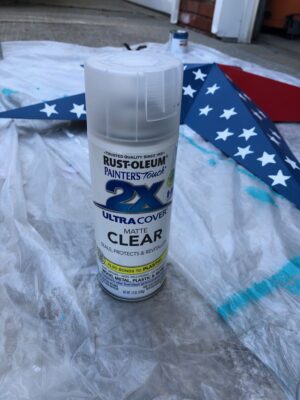
A little tip: The paint finish doesn’t actually matter. It’s the finish of your sealant that matters for the finished project. I used high gloss paints for the project but sealed it in a matte finish so it wouldn’t be too shiny. The high gloss paints allowed the colors to really pop and the matte finish took all the gloss sheen away.
I love how this barn star turned out! Now that I know I can work with this material, keep an eye out on the site for these great décor pieces to pop up for sale!
If you liked this DIY post, be sure to check out how I upgraded my old Walmart Dresser. What projects are you currently working on? Have you recently tried a new material? Tell me about it in the comments!